Recent Work / Trim & Moulding

Crown Moulding + Wall Panels — Full Paint Refresh

Vernon Hills, IL • Jun 18, 2025 • Trim & Moulding

Scope of work

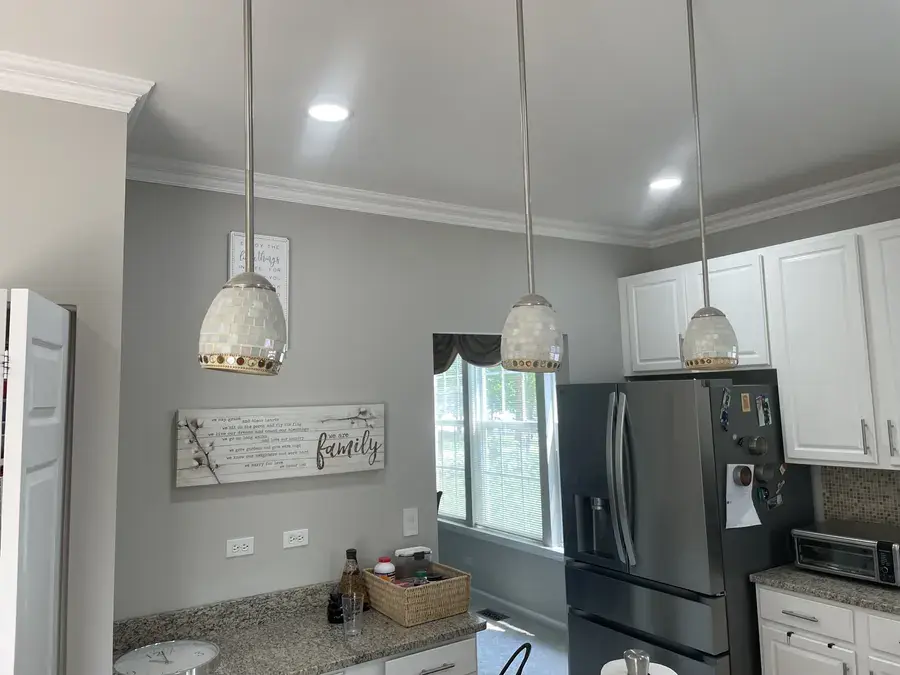
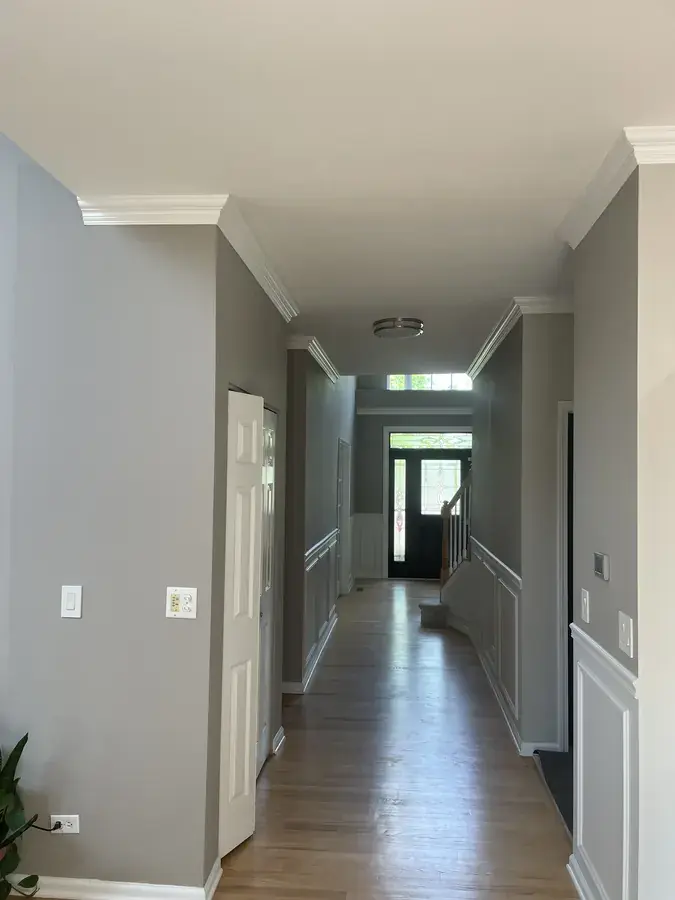
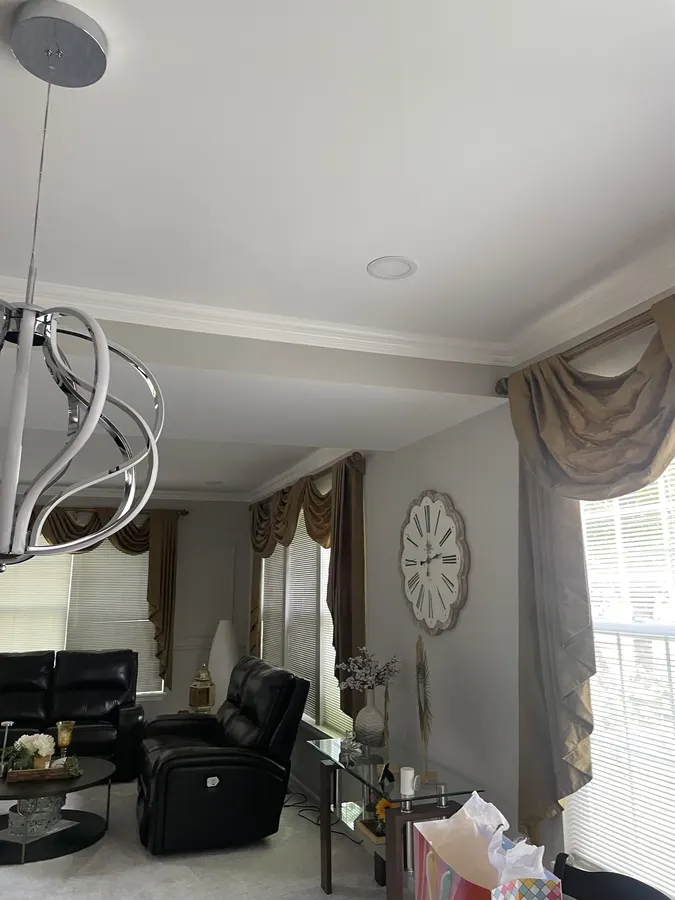
  • Install crown moulding on first floor: living room, hallway, and kitchen
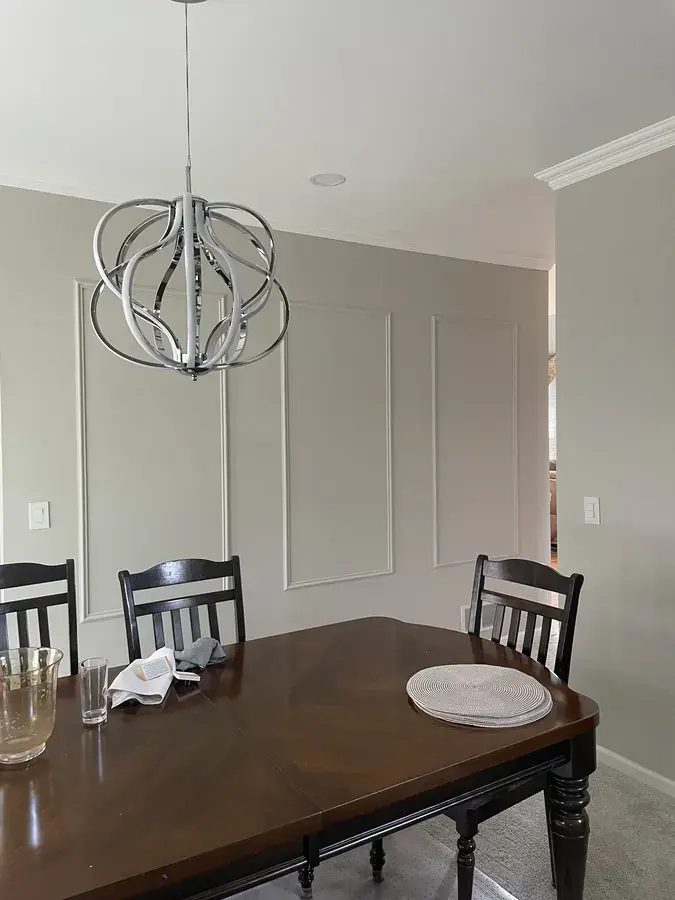
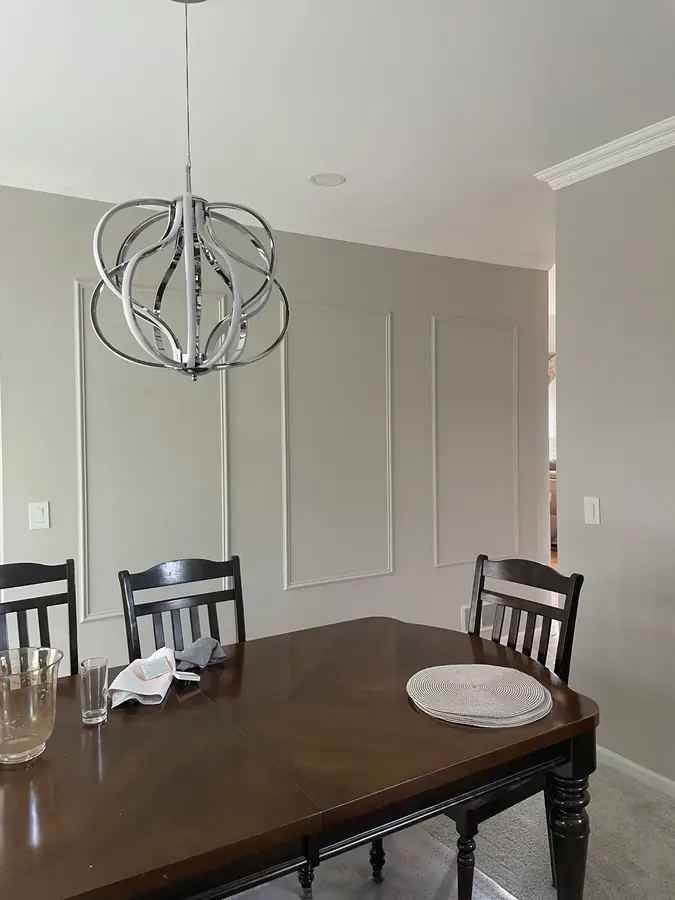
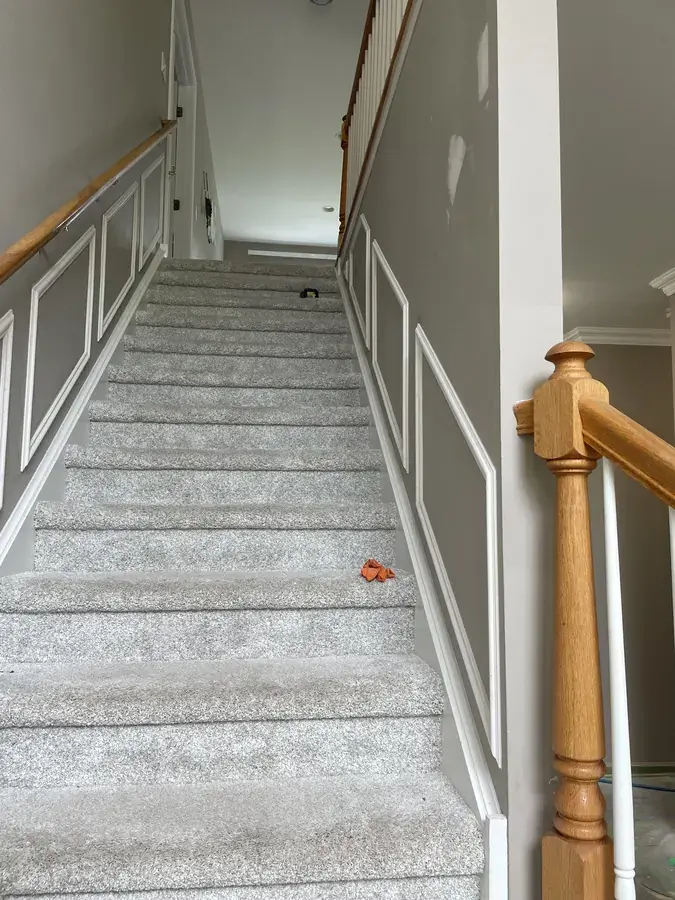
  • Install wall moulding frames (decorative panel “boxes”)
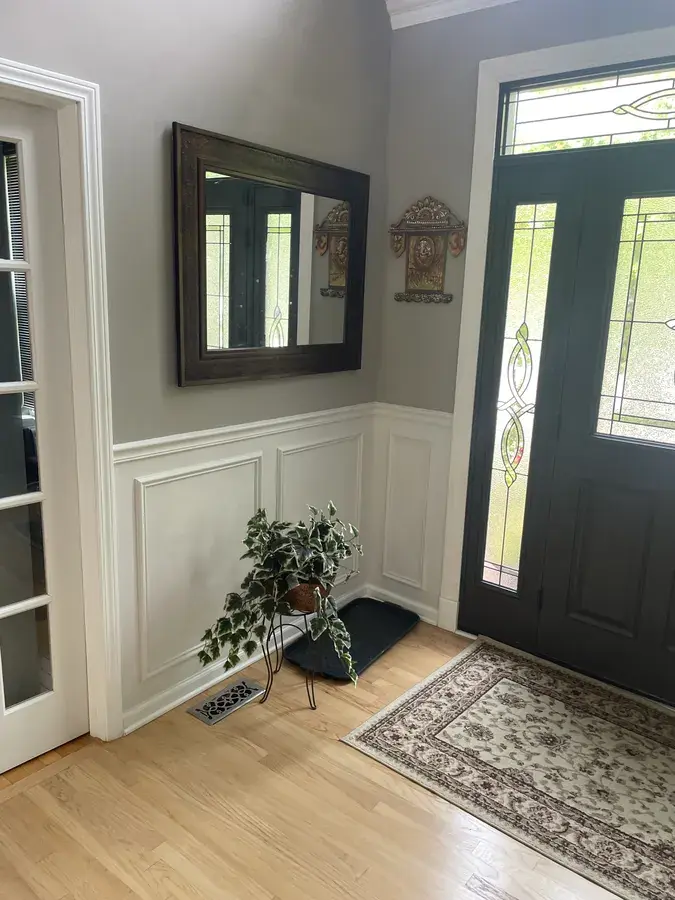
  • Wainscoting-style layout (panel moulding + lower wall treatment look)
  • Prep: caulk, fill, sand, and crisp lines on all trim/mouldings
  • Repaint all walls (first floor areas included in scope)
  • Finish paint on crown + wall mouldings for a clean, uniform result
Highlights
Crown moulding Wall panel frames Wainscot-style look Full repaint Crisp trim finish
Finished first-floor with crown moulding, wall panel mouldings, and fresh paint
Vernon Hills, IL — crown moulding + wall panel mouldings + a full paint refresh for a custom finished look.

Project facts

Timeline
Multi-day install + prep/paint (varies by layout)
Areas
First floor: living room, hallway, kitchen
Work included
Crown + wall moulding frames + full wall repaint + finish trim paint
Materials
Mouldings, fasteners/adhesive as needed, caulk, patch/filler, primer where required, wall paint, trim paint.

Best for

Homeowners who want a “custom builder” look without remodeling the whole space — crown moulding and wall panels add structure and style, and a fresh paint job ties everything together.

Photos

Tap any photo to open fullscreen. Swipe/drag to browse.
Living room with crown moulding and decorative wall frames
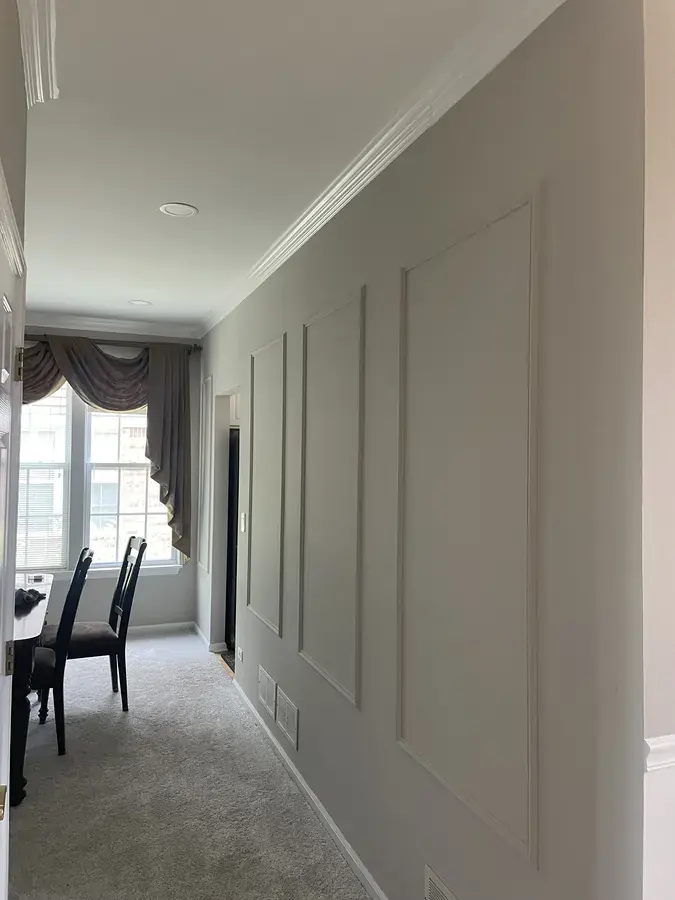
Dining area with crown moulding and wall panel mouldings
Kitchen after repaint with crown moulding and finished trim
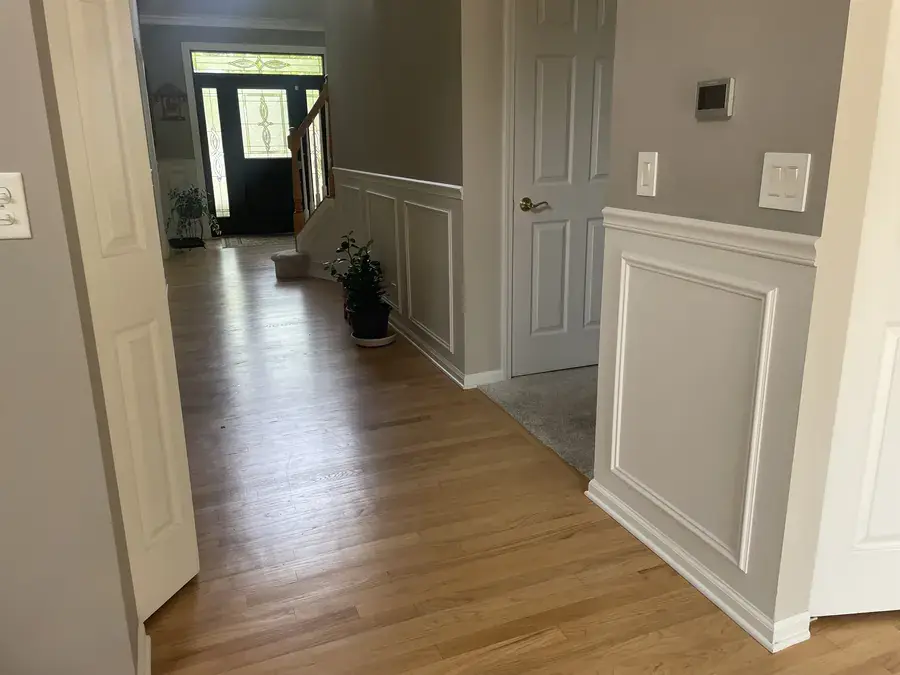
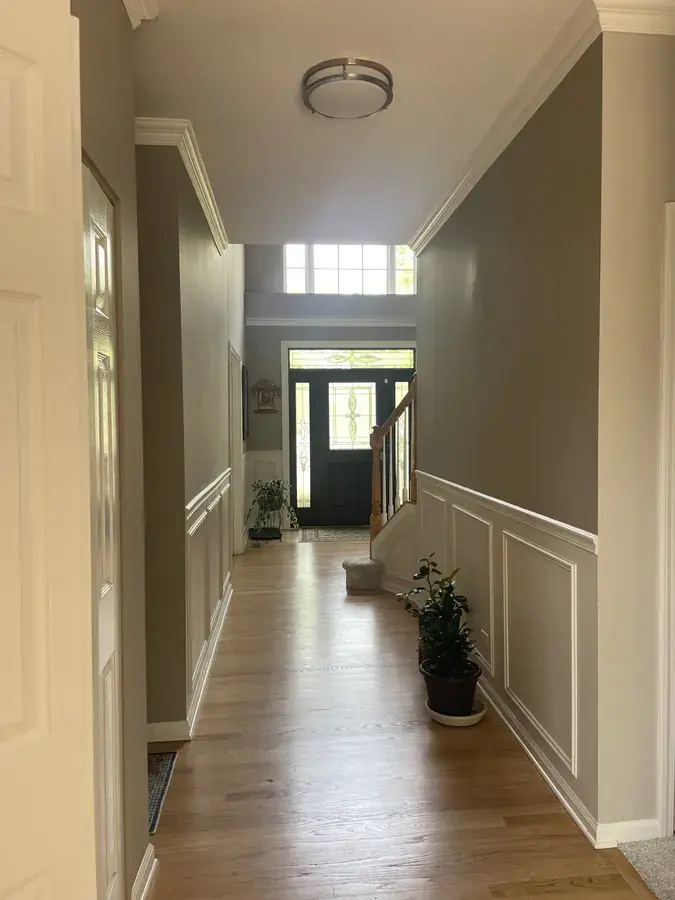
Hallway showing crown moulding and wainscoting-style panels
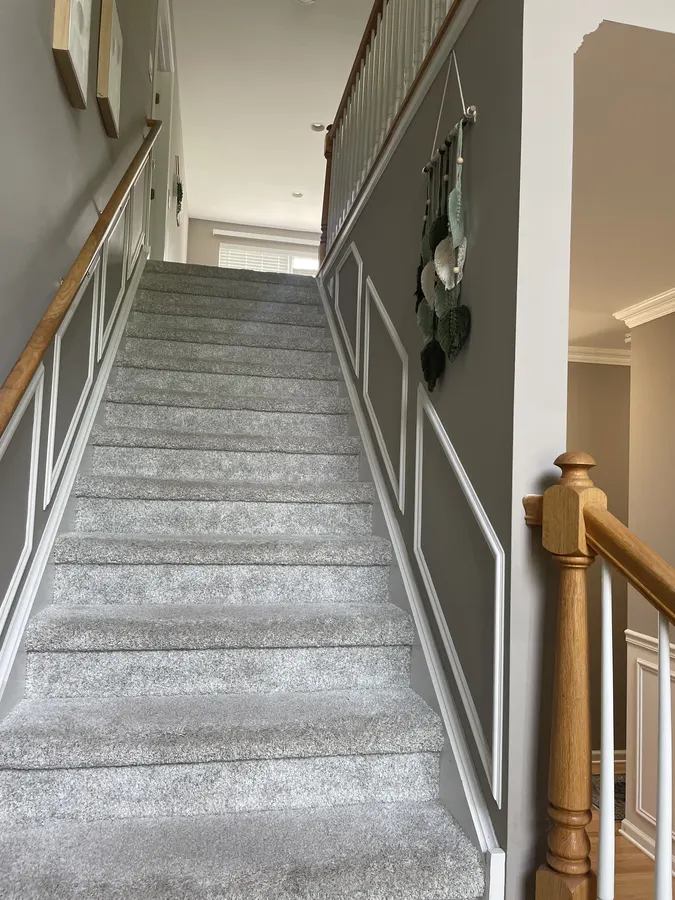
Staircase area with decorative wall mouldings
Entryway with wainscoting-style wall mouldings
Close-up of crown moulding joints and paint finish
Wide shot of living room with completed trim work
Wall moulding frames detail after final paint
Overall view of first floor trim, mouldings, and repaint

Project notes

This project was all about upgrading the first floor with clean finish carpentry and a full paint refresh. We installed crown moulding across the living room, hallway, and kitchen to add a more “built-in” feel.

To elevate the walls, we added decorative panel moulding (framed “boxes”) that creates a wainscoting-style look and makes the space feel more custom and structured.

After installation, everything was properly prepped (caulked, filled, sanded) and then painted: all walls were repainted, and the mouldings received a finished trim coat for crisp lines and uniform color.

Trim & moulding FAQ

Quick answers to common questions about crown moulding, wall panels, prep, and paint finish.

Does crown moulding make a room look bigger?
It can. Crown adds a clean transition at the ceiling line and often makes spaces feel more finished and intentional. The key is correct proportions, clean joints, and crisp paint lines.
Are wall moulding panels worth it?
If you want a custom look without full renovation, yes. Wall frames and wainscoting-style layouts add detail, improve visual balance, and photograph beautifully (great for resale and everyday feel).
How do you get clean seams and corners?
Proper cuts and fastening are step one, but the finish is where it’s won: filling nail holes, tight caulk lines, sanding, and applying the right primer/paint system for a smooth final look.